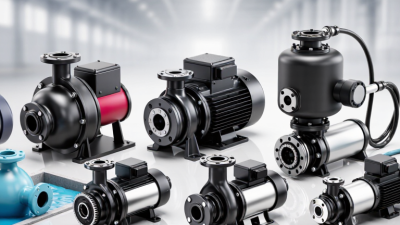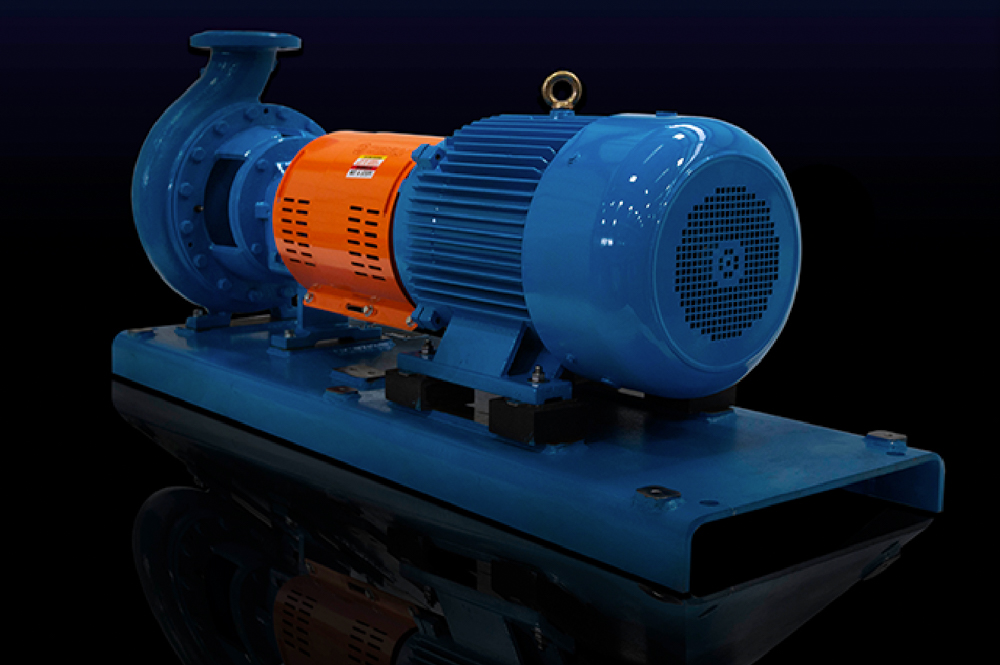
Choosing a priming pump in 2026 starts with the jobsite, not the product label. Will it lift water from a deep sump, clear a flooded trench, or handle liquid carrying grit? Those details change the right choice. A pump that looks powerful on a brochure may struggle when suction lift, hose length, or air leaks are overlooked.
Pump engineer and author Igor J. Karassik is widely known for his work on pump engineering. A practical paraphrase of the systems-based thinking found in that work is: “Choose for the real duty point, not the brochure headline.” Treat this as a selection principle, not a verified direct quotation. Check the required flow and total head, then confirm the pump’s priming method, solids-handling limits, and dry-running precautions. Small details matter. A cracked suction hose can admit air and prevent reliable priming, even when the pump itself is correctly sized.
Think about daily use, too. Will one person move the unit across wet gravel? Is the fuel or power source available where the pump will run? How quickly can the strainer be cleared after muddy water passes through? These practical checks help narrow the options before comparing price or brand. They also reveal what the specification sheet does not: a setup that works in a clean test area may behave differently beside a silty ditch in cold weather. No selection rule replaces the manufacturer’s operating data. Use it, and verify the actual site conditions before purchase.
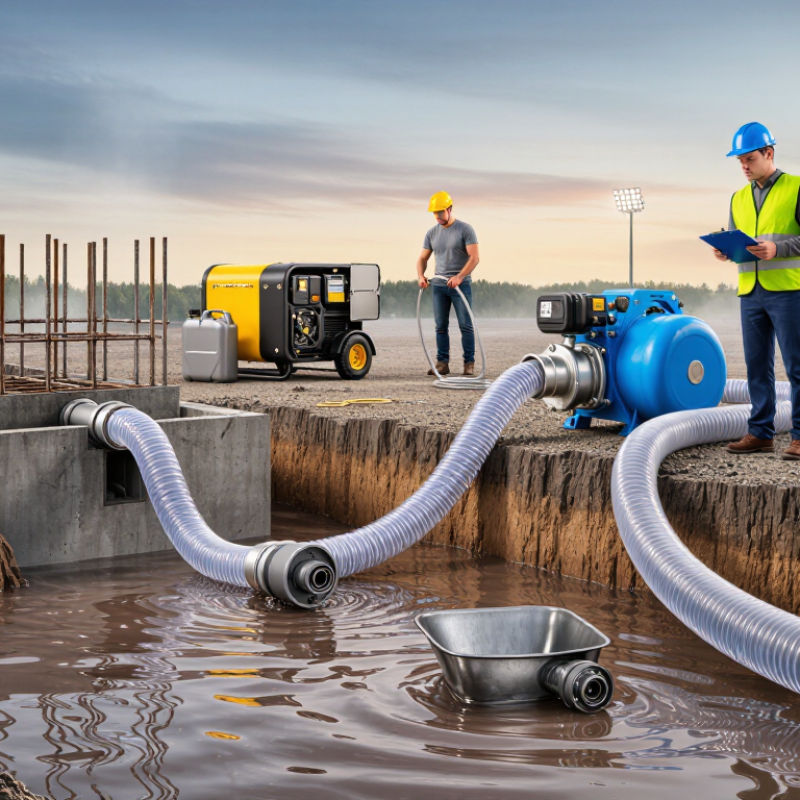
Choosing a priming pump starts with a real duty point, not the largest flow number on a brochure.
Record the required flow at the operating condition, then calculate total head: elevation change, pressure difference, and losses through pipe, bends, valves, and fittings. Keep units consistent. A narrow hose or several tight elbows can add more resistance than expected.
For example, a pump moving water from a low tank to a raised header may need to overcome both the vertical lift and friction in a long suction line. Check the worst credible operating case, too. It is easy to overlook a partly closed valve.
Then compare the pump’s performance curve with that flow-and-head point. Check NPSH₃ carefully. It is the net positive suction head required when pump head has fallen by 3% during testing; it is not the suction head available in your installation.
Calculate NPSH available for the actual liquid temperature, site pressure, suction lift, and line losses. Keep a suitable margin above the pump’s NPSH₃, following the manufacturer’s guidance for the service. Priming does not remove cavitation risk.
A warm liquid, blocked strainer, or leaking suction joint can undermine an otherwise sound selection. Field readings may differ from estimates, so leave room to review the assumptions. A little uncertainty matters.

A priming pump should match the suction lift and the amount of air it must clear, not just the required flow rate. Measure the vertical distance from the liquid surface to the pump inlet. Then account for hose length, bends, altitude, and possible air leaks. Each can slow priming or reduce the lift a pump can achieve in real conditions. Small details matter.
For a short lift and a small, airtight line, a self-priming centrifugal pump may be adequate. Its casing usually needs an initial fill, and its ability to clear air has limits. If the suction line is long, the lift is high, or air enters continuously, consider a vacuum-assisted method with enough air-handling capacity. Check the manufacturer’s published priming time and operating limits against your setup. A larger pump is not automatically better.
Think about what happens after the first start. Will the pump need to reprime after draining, or must it recover quickly after brief air pockets? Measure it. A trial with the actual hose and liquid can reveal delays that a specification sheet misses. I have seen small leaks at threaded joints cause more trouble than expected; it is easy to blame the pump too soon. Recheck the connections before changing equipment.
Start with the system curve, not a catalog headline. It describes the head the installation needs at each flow rate. Include static lift, pipe friction, fittings, valves, and changes in liquid level. A ten-metre suction lift and a long, narrow hose can shift the duty point sharply. Small details matter. Use the actual liquid temperature and viscosity, since both can affect losses and pump performance. For a priming pump, verify the stated suction lift, priming time, and ability to handle air in the suction line. These are operating limits, not extras. Use curves corrected for suction lift where available; flooded-suction data may overstate field performance.
Overlay the system curve on the pump curve at the intended speed and impeller diameter. Their intersection predicts the operating point. Compare it with the best-efficiency point (BEP) and the preferred operating range. A pump delivering the required flow far from BEP may use more power, vibrate, or wear unevenly. Aim near BEP, while allowing for seasonal flow changes and fouling. Check more than one condition. Confirm that available NPSH exceeds required NPSH with a practical margin, and review motor load at maximum flow. The first estimate can still be wrong; rough pipe interiors and partly closed valves are easy to overlook. Measure after startup. Compare actual flow and discharge pressure with the predicted values, then investigate any meaningful gap.
When choosing a priming pump in 2026, begin with the fluid, not the casing. Record its pH, concentration, operating temperature, and any cleaning chemicals. Chloride-bearing liquids can pit some stainless steels, while acid resistance varies with concentration and temperature. Check a chemical-compatibility chart for the exact duty; a broad label like “corrosion resistant” is not enough.
Seals deserve the same scrutiny. Match elastomer and face materials to the fluid and temperature range, including brief washdowns and dry-running risk during priming. AMPP’s 2016 IMPACT study estimated global corrosion costs at US$2.5 trillion annually, or 3.4% of global GDP. It also estimated that corrosion-management practices could reduce costs by 15–35%. Those figures are not pump-specific, but they show why material choices merit careful review.
Solids change the wear picture. Note particle size, hardness, and concentration, then ask whether the casing, impeller, and seal can tolerate repeated contact. Sand in a clear-looking sample can still score a seal face. Small details matter. A field sample may reveal grit or temperature swings missing from the specification sheet. I would still verify the supplier’s compatibility data against actual operating conditions; charts are useful, but rarely tell the whole story.
Verify Performance Using ISO 9906:2012 Pump-Test Acceptance Criteria
Choose a priming pump around the required flow, total head, suction lift, and liquid conditions—not just the advertised maximum. ISO 9906:2012 provides acceptance criteria for hydraulic performance tests on rotodynamic pumps. Agree on the acceptance grade and test conditions before ordering; the permitted deviations depend on the selected grade. A passing result is meaningful only when it matches the duty point you need.
Ask for a test report showing measured flow, head, speed, and power, with instrument accuracy and test setup recorded. Check that the pump was tested near your specified operating point. For a self-priming model, also request separate evidence for priming time and suction lift. ISO 9906 does not, by itself, establish every self-priming requirement. That detail is easy to miss. Site pipework, air leaks, and liquid temperature can also change real-world results.