Cost of Repairing vs. Replacing ANSI Pumps: A Comprehensive Analysis

Blog

7 Tips for Choosing an Automotive Door Lock Switch

Choosing an automotive door lock switch is a small decision with serious safety and usability consequences. A weak switch may feel loose, stick in cold weather, or respond slowly after years of use. S&P Global Mobility reported that the average U.S. vehicle age reached 12.6 years in 2024. That figure makes long-term switch durability more than a comfort issue.

The 2024 J.D. Power U.S. Initial Quality Study identified infotainment and control interfaces among the most frequently reported problem areas. Door-lock controls deserve similar attention. Human-factors expert Don Norman said, “Design is not just what it looks like and feels like. Design is how it works.” His principle applies directly to an automotive door lock switch. A clear symbol, firm tactile feedback, and predictable actuation can reduce driver distraction near the road.

Small details matter.

This guide, “7 Tips for Choosing an Automotive Door Lock Switch,” examines compatibility, electrical ratings, mounting quality, weather resistance, response feel, safety integration, and supplier reliability. It considers practical experience from installation and repair, not only catalog specifications. Check the connector before ordering. Confirm the switch matches the vehicle’s locking system, trim configuration, and control module. A visually identical part may use different terminals or communication logic.

There is no perfect choice. Some low-cost switches perform well initially but age poorly. Some premium parts offer better seals without improving tactile feedback. That uncertainty deserves honest attention. Buyers should compare verified test data, warranty terms, service history, and manufacturer documentation before deciding. A reliable automotive door lock switch should work quietly, consistently, and predictably when the cabin is hot, cold, wet, or crowded.
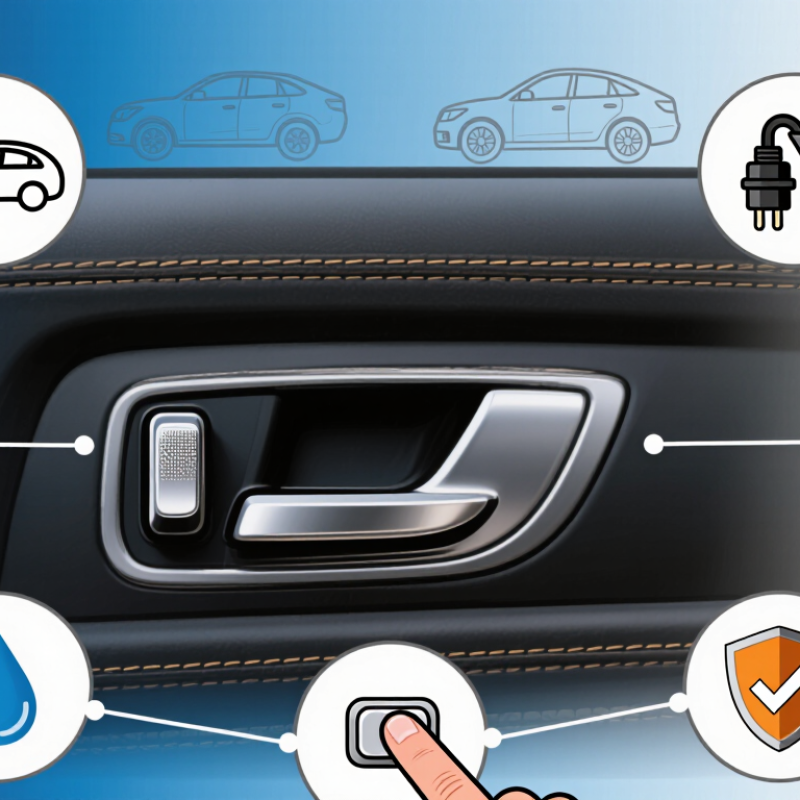
7 Tips for Choosing an Automotive Door Lock Switch

Understanding the Function and Types of Automotive Door Lock Switches

Understanding the function and types of automotive door lock switches helps you choose the correct replacement. The switch sends a low-voltage signal to the door control module or locking actuator. Pressing one side usually locks all connected doors, while the other side unlocks them. Some vehicles use a momentary rocker switch, while others use a push-button design. Capacitive switches also exist, but they require careful compatibility checks.

In workshop inspections, I check the connector shape, terminal arrangement, operating voltage, and mounting depth. A switch may look identical yet use a different circuit layout. That mistake is easy to make. Confirm the vehicle’s production year and door configuration before ordering. Tactile feedback matters too. A firm click is easier to feel at night or while wearing gloves. Soft buttons can feel modern, but they may hide internal wear.

Weather resistance deserves attention. Door panels face humidity, dust, temperature changes, and occasional spilled drinks. Choose a switch with suitable sealing and durable housing materials. Illuminated switches improve visibility, although their lighting circuit must match the vehicle system. Also inspect the locking logic: some switches control only one door, while others operate central locking. Child safety controls are separate from the main lock switch and should not be confused. I have seen careful installations fail because the connector was forced into place. Test every door, the interior handle, and the remote signal after installation. Do not assume one successful click proves everything works.


7 Tips for Choosing an Automotive Door Lock Switch

Automotive door lock switches send lock or unlock commands to the vehicle’s central locking system. Before selecting a switch, verify its electrical rating, momentary switching action, connector layout, mounting dimensions, environmental protection, illumination requirements, and compatibility with the vehicle’s nominal electrical system.

Typical Vehicle Voltage and Switch Selection

Passenger vehicles commonly use a nominal 12-volt electrical system, while many heavy-duty trucks and buses use a nominal 24-volt system. The selected door lock switch must be rated for the vehicle voltage and the control circuit. Always confirm the actual specification, connector pinout, and load requirements before installation.

Assessing Vehicle Compatibility and Electrical Specifications

7 Tips for Choosing an Automotive Door Lock Switch

Vehicle compatibility should guide every purchase. Check the exact model year, body style, trim, and door configuration. A switch for a two-door vehicle may not match a four-door wiring layout. Compare the original switch’s pin count, connector shape, mounting clips, and button spacing. Small differences matter. The vehicle identification number can help confirm fitment, but it should not replace the service manual. I once trusted a similar-looking connector and overlooked a different locking circuit.

Electrical specifications deserve equal attention. Confirm the system voltage, usually 12 volts, and check the switch’s current rating. Some switches control actuators directly, while others send low-current signals to a control module. These designs are not interchangeable. Use a multimeter to test continuity across each terminal while pressing the switch. Record open and closed readings. Check polarity, illumination wires, and ground connections. Never assume every terminal carries power.

Choose materials that tolerate vibration, moisture, and repeated use. Inspect the replacement housing for firm clips and clean terminal contact. A loose connection may cause intermittent locking, especially when the door closes. Disconnect the battery before handling wiring, and follow the vehicle’s repair instructions. A wiring diagram is more reliable than color matching alone. Even careful technicians can miss corrosion inside a connector. Recheck the circuit after installation, including manual locking, remote operation, and child-safety functions where applicable.

Checking Switch Quality, Durability, and Safety Features

7 Tips for Choosing an Automotive Door Lock Switch

Tip: Check the switch body for clean molding, firm terminals, and smooth button movement. Rough edges may suggest weak manufacturing control. Tip: Test electrical continuity with a multimeter before installation. The reading should change consistently when the switch is pressed. Tip: Examine the contact materials. Corrosion-resistant metals usually perform better in humid doors and during winter driving.

Tip: Ask about cycle testing or rated service life. A door lock switch may be used thousands of times each year. Tip: Look for a sealed housing or protective gasket. Dust and moisture can cause intermittent locking, especially inside older doors. Tip: Confirm the switch matches the vehicle’s connector, mounting depth, and electrical requirements. A near match is not good enough. I once focused too much on appearance and overlooked connector fit.

Tip: Review safety features, including stable current handling and protection against accidental activation. The switch should respond clearly without sticking or requiring excessive force. Tip: Check installation instructions, testing procedures, and warranty terms from reliable technical sources. Clear documentation shows greater accountability. After installation, test both front and rear locks, the child-safety setting, and manual operation. Listen for delayed clicks or repeated cycling. Small faults can become serious distractions while driving.

7 Tips for Choosing an Automotive Door Lock Switch - Checking Switch Quality, Durability, and Safety Features

Tip Evaluation Dimension Recommended Check Practical Benchmark Verification Method Why It Matters
1 Electrical Compatibility Compare the switch voltage, current capacity, connector layout, terminal configuration, and signal type with the vehicle circuit. The rated voltage and current should meet or exceed the vehicle circuit requirements, with an engineering safety margin where applicable. Check the datasheet, wiring diagram, connector pinout, and resistance across each switch position. Incorrect electrical specifications can cause intermittent locking, contact overheating, blown fuses, or control-module faults.
2 Contact and Housing Quality Inspect the contact material, terminal finish, housing strength, button alignment, and molding quality. Contacts should have stable low resistance, terminals should be corrosion-resistant, and the housing should show no cracks, flash, looseness, or deformation. Perform visual inspection, continuity testing, terminal pull testing, and resistance measurements before and after environmental exposure. Solid construction helps prevent signal loss, unwanted resistance, and premature switch failure.
3 Mechanical Durability Evaluate the switch actuator, spring mechanism, detents, and mounting points for repeated daily use. Use a documented life-test target of at least 100,000 operating cycles unless the vehicle application specifies a different requirement. Operate the switch under controlled force and speed, then measure function, travel, actuation force, and contact resistance at scheduled intervals. A durable mechanism reduces failures caused by repeated driver and passenger operation.
4 Environmental Resistance Check resistance to temperature changes, humidity, dust, vibration, cleaning fluids, and accidental moisture exposure. Confirm the operating temperature range covers the vehicle location; a common automotive screening range is approximately −40°C to +85°C, subject to application requirements. Review environmental test reports and conduct thermal cycling, humidity, vibration, dust, and fluid-compatibility tests. Door interiors can experience cold starts, heat buildup, vibration, condensation, and liquid contamination.
5 Moisture and Ingress Protection Determine whether the switch location requires sealing against water spray, dust, or liquid spills. Select an enclosure protection level appropriate to the installation; an IP rating should be treated as valid only when the complete assembly has been tested to the stated level. Verify the declared IP test documentation and inspect seals, caps, drainage paths, and connector protection. Moisture ingress can produce corrosion, leakage current, false signals, and loss of locking function.
6 Safety and Fail-Safe Behavior Confirm that the switch does not create an unsafe lock command, unintended unlock signal, or interference with emergency exit operation. The switch should return reliably to its intended state, prevent unintended actuation from vibration, and support the vehicle’s child-safety and emergency-unlock design. Test open-circuit, short-circuit, stuck-button, vibration, connector-disconnection, and power-interruption conditions within the vehicle system. Door-lock controls are safety-related user interfaces and must not compromise occupant egress or secure closure.
7 Fit, Installation, and Traceability Verify physical dimensions, mounting clips, actuator travel, connector retention, wire routing, and service replacement identification. The switch should install without force, remain securely retained, align with the trim panel, and include lot or date traceability for quality control. Use dimensional inspection, trial installation, connector retention testing, and review of inspection records and change-control procedures. Correct fit prevents rattles, accidental actuation, wiring strain, installation damage, and difficult field servicing.

Note: The benchmarks above are practical screening guidelines rather than universal specifications. Final requirements should be confirmed against the vehicle design, electrical architecture, applicable regulations, and validated test procedures.

Comparing Installation Methods, Costs, and Warranty Coverage

7 Tips for Choosing an Automotive Door Lock Switch

Choosing an automotive door lock switch starts with the installation method. A direct-fit switch usually matches the original connector and mounting points, reducing cutting and rewiring. It often costs more than a universal switch, but labor may be lower. A universal unit can save money upfront, yet extra relays, connectors, or adapters may raise the final bill. Ask for a complete estimate, including testing and removal of the door panel.

Check the switch’s electrical rating, connector quality, and resistance to moisture. A technician should inspect the actuator, wiring, and fuse before blaming the switch. Otherwise, you may replace a good part. I once saw a loose ground cause intermittent locking, which looked like switch failure. That mistake was avoidable. Keep the old component until the repair works through several lock cycles.

Warranty coverage deserves equal attention. Confirm whether it covers the part, labor, shipping, and repeated failure. Some warranties exclude water damage, incorrect wiring, or professional installation. Request the terms in writing. A longer warranty is not always better if claims require difficult testing or limited documentation. Record the installation date and keep the invoice. Small details matter. A careful comparison of installation time, total cost, and warranty limits usually reveals the more reliable choice.

Verifying Seller Reliability and Replacement Support

7 Tips for Choosing an Automotive Door Lock Switch

A reliable seller provides more than a low price. Check the listing for connector shape, terminal layout, mounting clips, and vehicle compatibility. Clear photos should show the front, rear, and electrical socket. Ask for the matching part reference before ordering. A quick, specific reply often reveals better product knowledge than a vague promise. Still, response speed alone is not proof.

Read customer reviews carefully. Look for comments about installation, button feel, wiring fit, and long-term operation. Reviews with clear photos are more useful than simple five-star ratings. I once trusted a detailed listing and missed a small locking tab. The switch worked electrically but would not sit firmly in the door panel. That mistake changed how I check fitment.

Replacement support matters when a part arrives damaged or fails early. Confirm the return period, warranty conditions, and replacement procedure before payment. Ask whether the seller keeps the same connector and housing available. Reliable support should explain testing steps without blaming the installer immediately. Keep photos of the package, connector, and installed position. Small records help. A seller offering written guidance and realistic replacement terms deserves more confidence than one making exaggerated claims.

Proud Member Of Curry Supply Holdings
Since 1932

Tour Our State-of-the-Art Facility

Click for a Quick Quote